Your cart is empty
 Short Rigid Couplings
 Controlflex Couplings
 Jaw Couplings
 Oldham Couplings
 Bearing Locknuts – TCN
 Double Wide Shaft Collars
 Heavy Duty Shaft Collars
 International Series Shaft Collars
 Keyed Shaft Collars
 Mountable Shaft Collars
 Quick Clamping Shaft Collars
 Set Screw Shaft Collars
 Thin Line Shaft Collars
 Threaded Shaft Collars – Pacific International Bearing Products
 Two-Piece Shaft Collars
 Friction Bearing Universal Joints
 Needle Bearing Universal Joints
Bearings
Clutch Release Bearing Seals: What They Do, Why They Fail, and How to Spec Them Right
17 March, 2026
17 min read
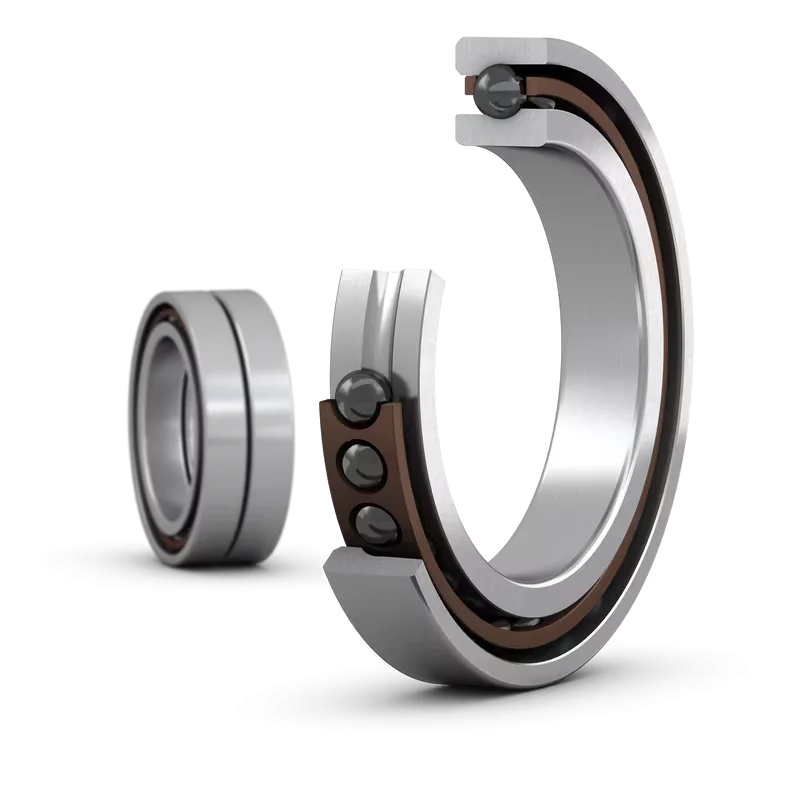
Clutch release bearing seals keep grease inside the release bearing area and keep dirt out, so the bearing can spin smoothly when you press the clutch. In a hot, dusty bell housing, that seal is the difference between quiet operation and early wear. Pacific International Bearing Sales can help you match the right seal for your application.
- Seals protect the release bearing from clutch dust, water mist, and road grit.
- A small leak can turn into noise fast, because the bearing runs hot and spins under load.
- Design matters, because some systems use an integrated sealed bearing, others use a separate seal or shield.
- Fit is everything, a crooked or misaligned seal can fail immediately.
- Good specs save time, measure ID, OD, width, material, and lip style before ordering.
For matching parts by size and application, check the PIB online catalog and reach out to PIB with your dimensions.
What a Clutch Release Bearing Seal Does Inside the Clutch
- Release bearing (throwout bearing): The bearing that presses on the pressure plate fingers when you press the pedal.
- Clutch fork: The lever that pushes the release bearing forward.
- Pressure plate: The spring-loaded assembly that clamps the clutch disc to the flywheel.
- Bell housing: The housing that surrounds the clutch and links engine to transmission.
- Guide tube (quill): The sleeve the release bearing slides on, keeping it aligned.
If you’re sourcing bearings for clutch systems, Aetna clutch release bearings are one example of purpose-built options that highlight how sensitive this area is to contamination and alignment.
The Two Big Jobs, Keep Lubricant in and Keep Contamination Out
The seal’s first job is grease retention. Release bearings often rely on a set grease fill for life. When the seal lip can’t hold grease under heat and rotation, the bearing runs dry. Dry rolling elements turn into noise, then heat, then spalling.
The second job is contamination exclusion. Inside a bell housing, the main “contaminant” is clutch dust, plus:
- Road grit and sand (especially in work trucks and off-road use)
- Water splash and salt mist
- Metal dust from wear and vibration
Sealing is hard here because the bearing sees heat cycling, axial movement, and rotation. The seal also has to survive nearby friction surfaces. It’s not like sealing a slow, cool gearbox.
How Seal Failure Turns into Clutch Problems you can Feel
A failing seal rarely announces itself politely. Most drivers feel it before they see it.
Common symptoms tied to seal and release bearing issues include a squeal or chirp when pressing the pedal, a rough pedal, or a vibration you can feel in your foot. Sometimes the noise only shows up when the bearing loads the pressure plate fingers.
Still, it helps to draw a clear line between what a seal can cause and what it can’t:
- A bad seal can lead to grease loss, dirt entry, bearing noise, and early bearing failure.
- A bad seal can contribute to rough travel on a worn guide tube, which can feel like a sticky pedal.
- A bad seal can’t fix a worn clutch disc, weak pressure plate springs, or a warped flywheel.
If the clutch disc is worn out, a new seal won’t change that. The seal’s job is protection, not restoring friction surfaces.
Common Seal Designs and How to Pick the Right One
Clutch release bearing sealing comes in a few common forms. The “right” one depends on how the clutch is built and how much contamination the vehicle sees.
Typical designs include:
- Integrated sealed release bearing: The bearing includes its own sealing, often the simplest service approach.
- Separate lip seal: A standalone elastomer lip seal runs on the guide tube or a mating surface.
- Labyrinth style: A non-contact path that makes it hard for dust to enter, often paired with grease and shields.
- Dust shield or deflector: A metal or polymer shield that blocks direct debris, usually not oil-tight.
A practical selection checklist keeps you from ordering a seal that “almost fits”:
- Size: ID, OD, and width must match the bore and running surface.
- Speed and motion: Release bearings spin, but not like wheel bearings, and they also move axially.
- Temperature: Bell housing heat can be steady or spiky, depending on driving and load.
- Grease type: Some greases attack certain elastomers over time.
- Contamination level: City commuting differs from quarry work.
- Alignment: Guide tube wear or runout can kill a new seal quickly.
- Housing material: Aluminum housings behave differently than iron as temperatures change.
For a broader framework on matching components to real operating conditions, PIB’s guide on selecting the right bearing is a solid way to think in terms of load, environment, and life targets.
Material Choices, Why Rubber Type Matters Near Heat and Clutch Dust
Most clutch release bearing seals use one of these elastomers:
- NBR (nitrile): Common and cost-effective. It handles many greases well, but high heat can harden it sooner.
- HNBR (hydrogenated nitrile): Better heat and wear resistance than NBR. It often lasts longer in hotter, dirtier duty.
- FKM (fluoroelastomer): Strong heat resistance and chemical resistance. It’s a good fit for severe temperatures, but costs more.
A simple rule of thumb helps:
Passenger vehicles with normal duty often do fine with NBR or HNBR, depending on heat and expected life. Heavy-duty, high-heat, or long-idle commercial use often points toward HNBR or FKM, especially if heat soak is common.
Fit and Geometry Checks that Prevent Leaks and Early Wear
Seals don’t “wear in” the way brake pads do. If the geometry is wrong, the seal fails early.
Start with the basics:
- ID (inside diameter): Must match the running surface on the guide tube or sleeve.
- OD (outside diameter): Must fit the bore with the right press fit, not loose, not crushed.
- Width: A wider seal may bottom out or distort if the cavity is shallow.
Then check the surfaces:
- Shaft finish: A rough guide tube acts like sandpaper on the lip.
- Runout: If the guide tube wobbles, the lip gets hammered each rotation.
- Lead-in chamfer: A sharp edge can nick the lip during install.
Lip direction matters too. A sealing lip normally faces the side you want to retain (grease side). Many lip seals also use a spring-loaded lip (a small garter spring). That spring keeps contact pressure consistent as the rubber ages.
Misalignment is the silent killer here. A worn or scored guide tube can ruin a new seal in minutes, even if the seal is “correct.”
Troubleshooting, Replacement Timing, and Installation Tips that Actually Work
Start with a simple troubleshooting sequence:
- Confirm when the noise happens: pedal up, pedal down, or only during engagement.
- Listen at the bell housing area: a mechanic’s stethoscope helps, but use caution around moving parts.
- Inspect the release fork boot or opening (if accessible): look for torn boots, dust piles, or grease sling.
- Check for grease fling: a ring of grease mist can point to seal loss or over-greasing.
- Look for dust tracks: fine clutch dust stuck to wet grease often marks a leak path.
- Examine guide tube wear: scoring, bluing, or taper points to heat and misalignment.
- Check fork pivot and fork tips: wear here changes bearing angle and loads the seal unevenly.
- Consider other bearings: pilot bearing and input shaft bearing noise can mimic release bearing problems.
In practice, most techs replace seals during clutch service because the transmission is already out. If the bearing feels rough, shows heat marks, or has visible grease loss, replace the full release bearing assembly instead of only the seal. A seal alone can’t fix raceway damage.
Quick Symptom-to-Cause Guide for Squeaks, Chirps, and Rough Pedal Feel
Use this as a short decision guide, not a promise.
- Chirp or squeal only when pressing the clutch: often release bearing noise, next check is bearing feel and seal condition.
- Noise with pedal released, changes with engine speed: could be input shaft bearing, next check is transmission noise behavior.
- Rough pedal travel or “gritty” feel: often guide tube wear or contamination, next check is tube finish and seal lip damage.
- Vibration in pedal under load: can be pressure plate finger issues, next check is finger wear pattern and bearing contact face.
- Clutch drag (hard to get in gear): could be hydraulic, disc, or pressure plate, next check is release travel and clutch hardware.
Clutch systems stack tolerances. Because of that, two small issues can feel like one big problem.
Installation Mistakes to Avoid (and What to Do Instead)
Most seal failures after service come from a short list of avoidable errors.
- Over-greasing: Extra grease can fling onto the disc. Use the specified amount and keep it off friction surfaces.
- Wrong grease: Some greases don’t like heat, others don’t like certain elastomers. Match grease to bearing and seal material.
- Nicking the lip: A tiny cut becomes a leak path. Use a sleeve or careful guiding over edges.
- Installing crooked: A tilted seal wears fast. Use the right driver tool and press evenly.
- Skipping guide tube cleanup: Dirt under a seal can hold it off-center. Clean and inspect the bore and tube.
- Reusing a worn guide tube: A grooved tube eats new lips. Replace or sleeve it if it’s out of spec.
- Contaminating the clutch disc: Keep hands and tools clean. Grease on the disc means chatter later.
A good install feels boring. That’s the goal.
Specs that Matter, Plus a Simple Table you Can Copy Into a Work Order
If the old seal is missing or damaged, measure the housing bore (for OD), the running surface on the guide tube (for ID), and the cavity depth (for width). Calipers handle most jobs, but a bore gauge and mic help on tighter fits. Also note how the original part sat, including lip direction and any shields.
PIB can help match seals by dimensions and application, especially when you have a bearing number, a vehicle use case, or clear measurements.
Specification Table for Clutch Release Bearing Seals
Use this table as a spec checklist in a work order or quote request.
| Spec | Typical options or ranges | What it means | How to measure or confirm | Notes |
| Seal type | Integrated bearing seal, separate lip seal, labyrinth, dust shield | Basic sealing approach | Visual ID of old part, service manual, or assembly inspection | Integrated designs often replace as an assembly |
| Inside diameter (ID) | Application-specific (commonly ~20 mm to 50 mm) | Fits the guide tube or running surface | Measure guide tube OD where the lip rides | Don’t measure on a worn groove |
| Outside diameter (OD) | Application-specific (commonly ~30 mm to 70 mm) | Fits the housing bore | Measure bore ID in bell housing or carrier | Check for out-of-round bores |
| Width | Application-specific (commonly ~4 mm to 12 mm) | Controls seating depth and lip location | Measure cavity depth and old seal width | Too wide can distort the seal |
| Lip style | Single lip, double lip, dust lip | Controls retention and exclusion | Visual inspection of seal cross-section | Dust lip helps with clutch dust |
| Spring | Yes or no | Maintains lip tension | Look for garter spring behind the lip | Missing spring equals weak sealing |
| Material | NBR, HNBR, FKM | Heat and wear resistance | Markings, supplier data, or application match | Higher heat often needs HNBR or FKM |
| Temperature range | Broadly from sub-zero starts to high bell housing heat | Survival under heat cycling | Match to duty cycle and heat exposure | Consider towing and stop-and-go use |
| Max shaft speed | Moderate rotational speed during clutch actuation | Lip heat and wear limit | Estimate from engine speed and design | Misalignment often matters more than speed |
| Media | Grease, clutch dust, water mist, road grit | What the seal must handle | Assess vehicle environment | Dust exclusion is usually the main need |
| Housing fit | Light press fit typical | Keeps OD from spinning | Compare bore and seal OD | Too tight can crush the OD |
| Shaft surface finish target | Smooth, non-gouged running surface | Protects the sealing lip | Fingernail test plus measurement if needed | Replace or sleeve scored guide tubes |
| Runout tolerance guidance | Keep runout low, avoid wobble | Prevents lip pounding | Check guide tube and bearing alignment | Worn fork pivots can add misalignment |
| Notes | Installation method, lip direction, grease note | Captures what’s easy to forget | Add to work order | Include “lip faces grease side” if applicable |
FAQ
Do Clutch Release Bearings Always Have a Separate Seal?
No. Many use an integrated sealed release bearing. Others rely on a separate seal or dust shield in the carrier or bell housing area. The service method depends on the clutch design.
Can a Bad Seal Cause a Squeal When I Press the Clutch?
Yes, indirectly. A failed seal can let grease out or dust in, which damages the release bearing. The squeal usually comes from the bearing, not the seal itself.
Should I Replace the Seal If the Clutch is Already Apart?
Usually yes, if the design uses a separate seal and it shows wear, hardening, or damage. Also replace it if you see grease sling or dust tracks.
What’s the Biggest Cause of Early Seal Failure After Installation?
Misalignment and surface damage. A worn guide tube, crooked installation, or a nicked lip can make a new seal fail fast.
Will a New Seal Fix Clutch Slip or Chatter?
No. Slip and chatter usually point to the clutch disc, pressure plate, flywheel condition, or contamination on friction surfaces.
Conclusion
Clutch release bearing seals do two simple things: hold grease in and keep clutch dust out. They fail from heat, wear, misalignment, and damage during install. Choosing the right design and material starts with the real environment, not guesswork. Careful measurements and clean installation habits prevent repeat failures. Check the PIB online catalog, then contact PIB [email protected] for help matching the right seal by size and application.